
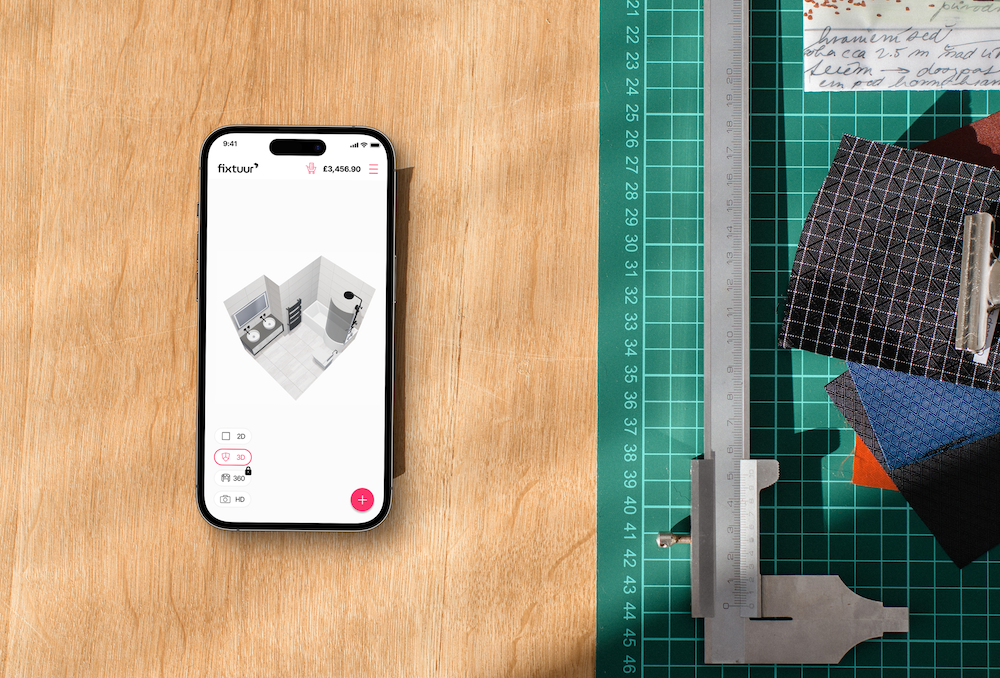
Ready to transform your customers' spaces with our 3D Room Planner tool? This guide will walk you through the entire design process, empowering you to visualise products in your room like never before. By the end of this tutorial, you’ll have a comprehensive understanding of how to use our tool effectively to create a stunning room design that reflects your customers' personal style and meets their functional needs.
Start Your Design Journey
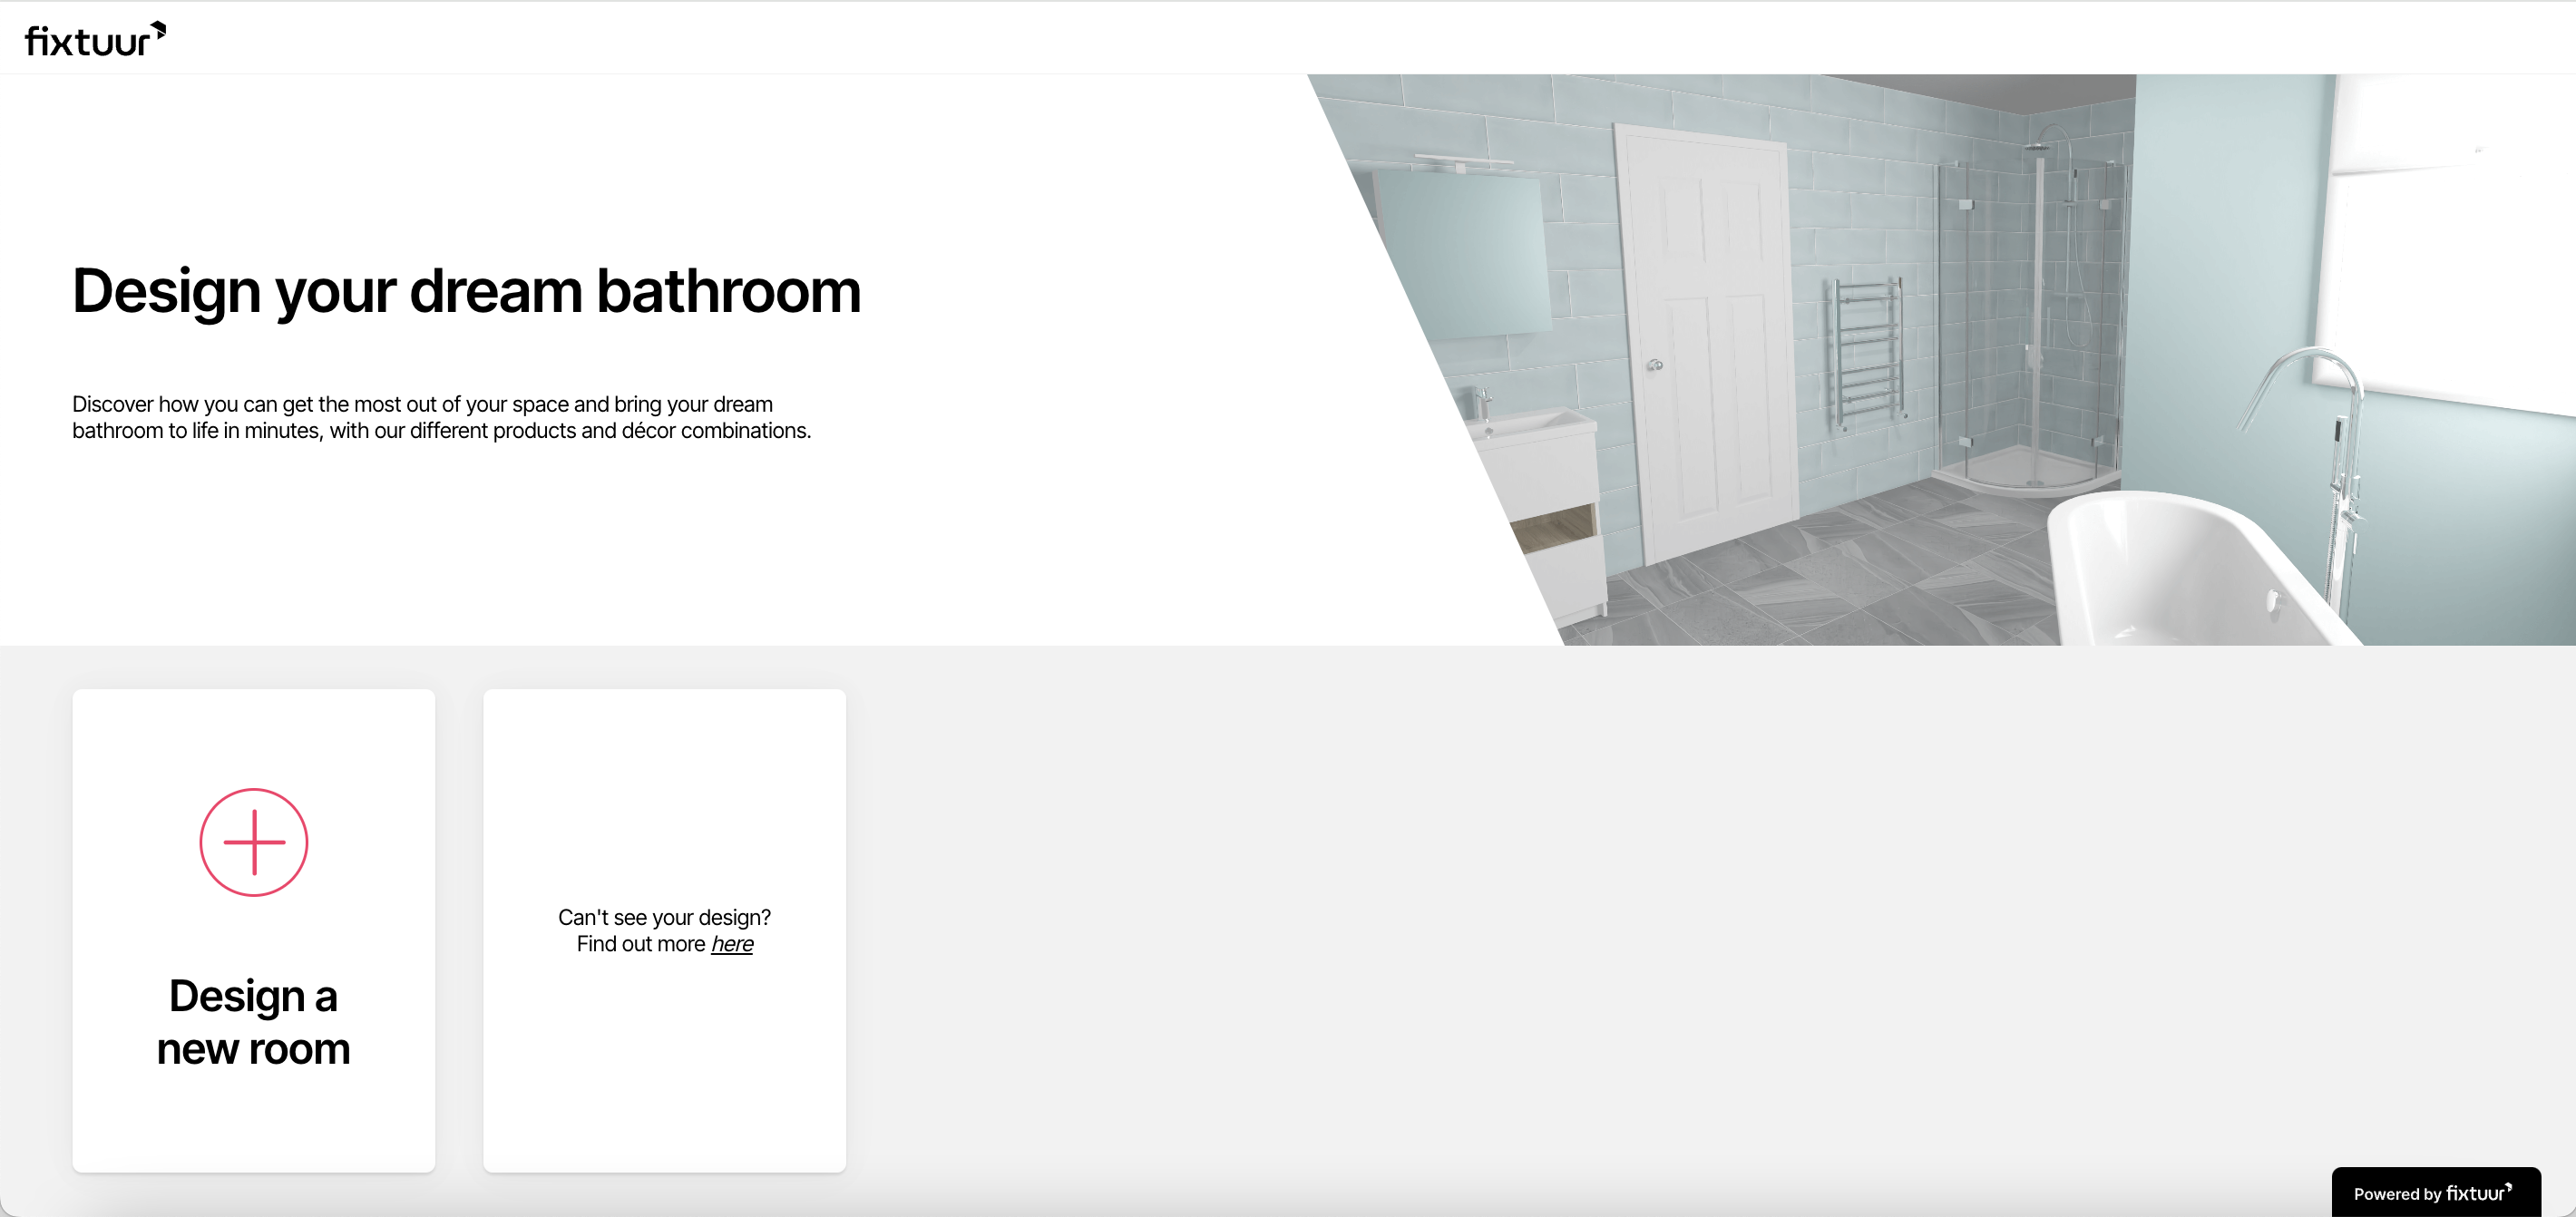
Find the 3D Room Planner
Button
After opening the 3D Room Planner
from the button on your website, click
‘start new design’ to begin your
renovation journey.
Note: Any designs you create will be stored on this page for you to come back and access at a later date.
Define Your Space
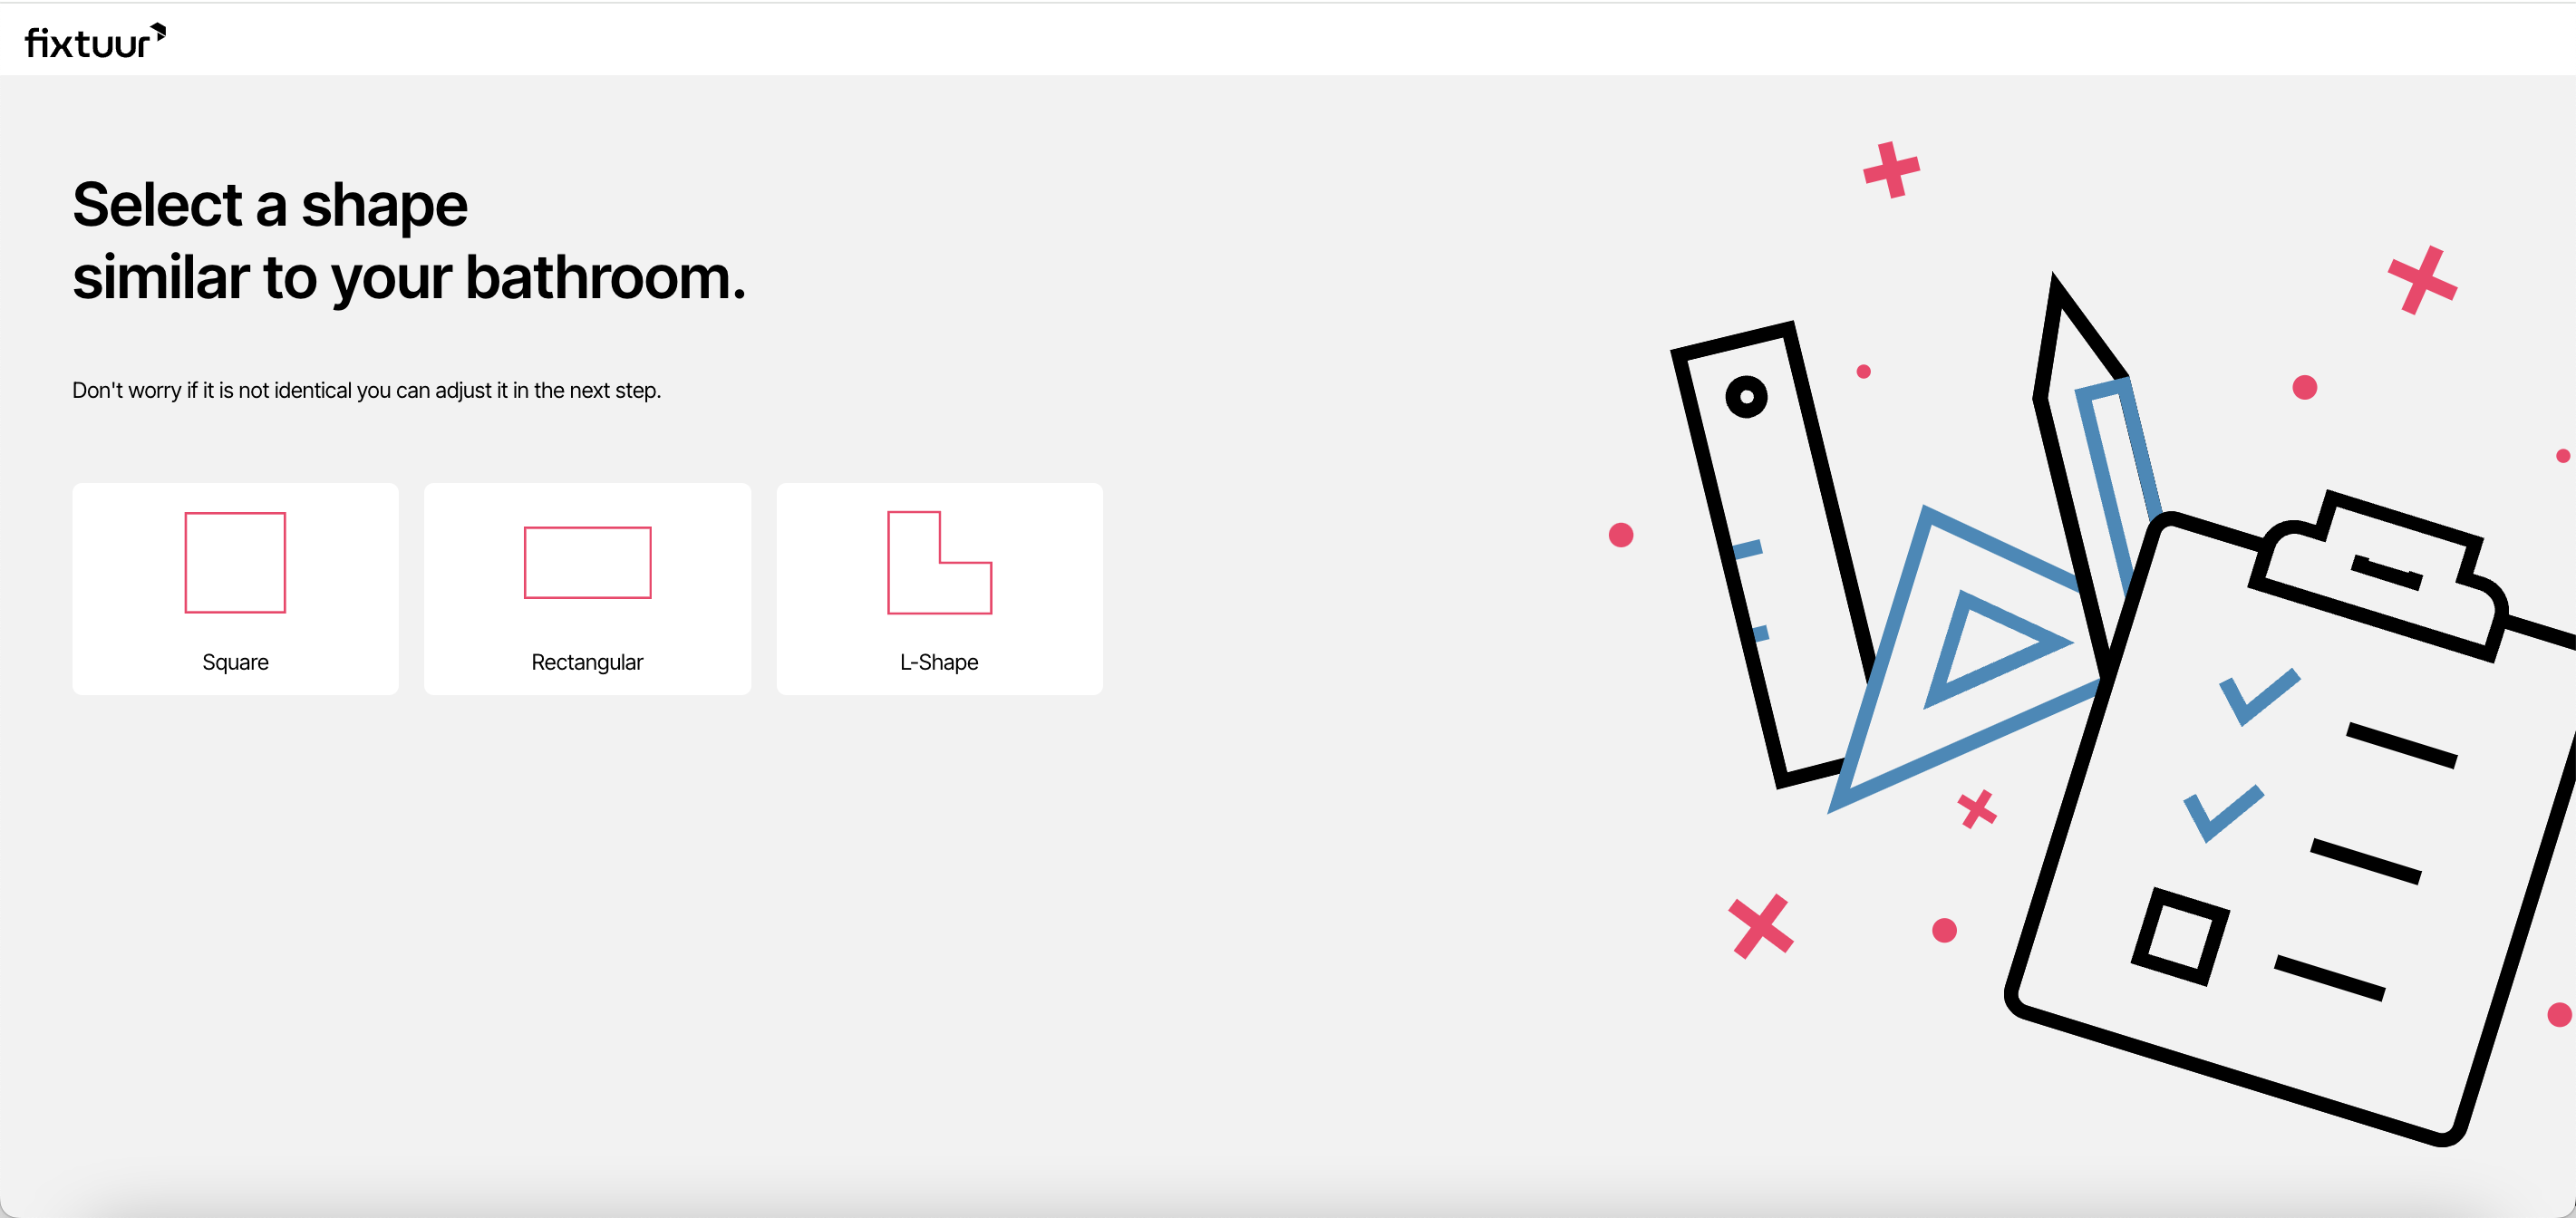
Set Your Room Dimensions
The first step in creating a
realistic room design is to accurately
define your space. By choosing a room
shape and then adapting it using our
sizing features, you can create a true
reflection of your current floor plan.
- Square and Rectangular Rooms: For straightforward layouts, input your room dimensions in the designated fields. For example, if you have a room that measures 10 feet by 12 feet, enter those dimensions to see your room come to life.
- L-Shaped Rooms: If your space features an L-shape, you’ll be able to specify the dimensions of each segment of the room. This ensures that your design reflects the actual layout of your home.
Finalise Your Layout
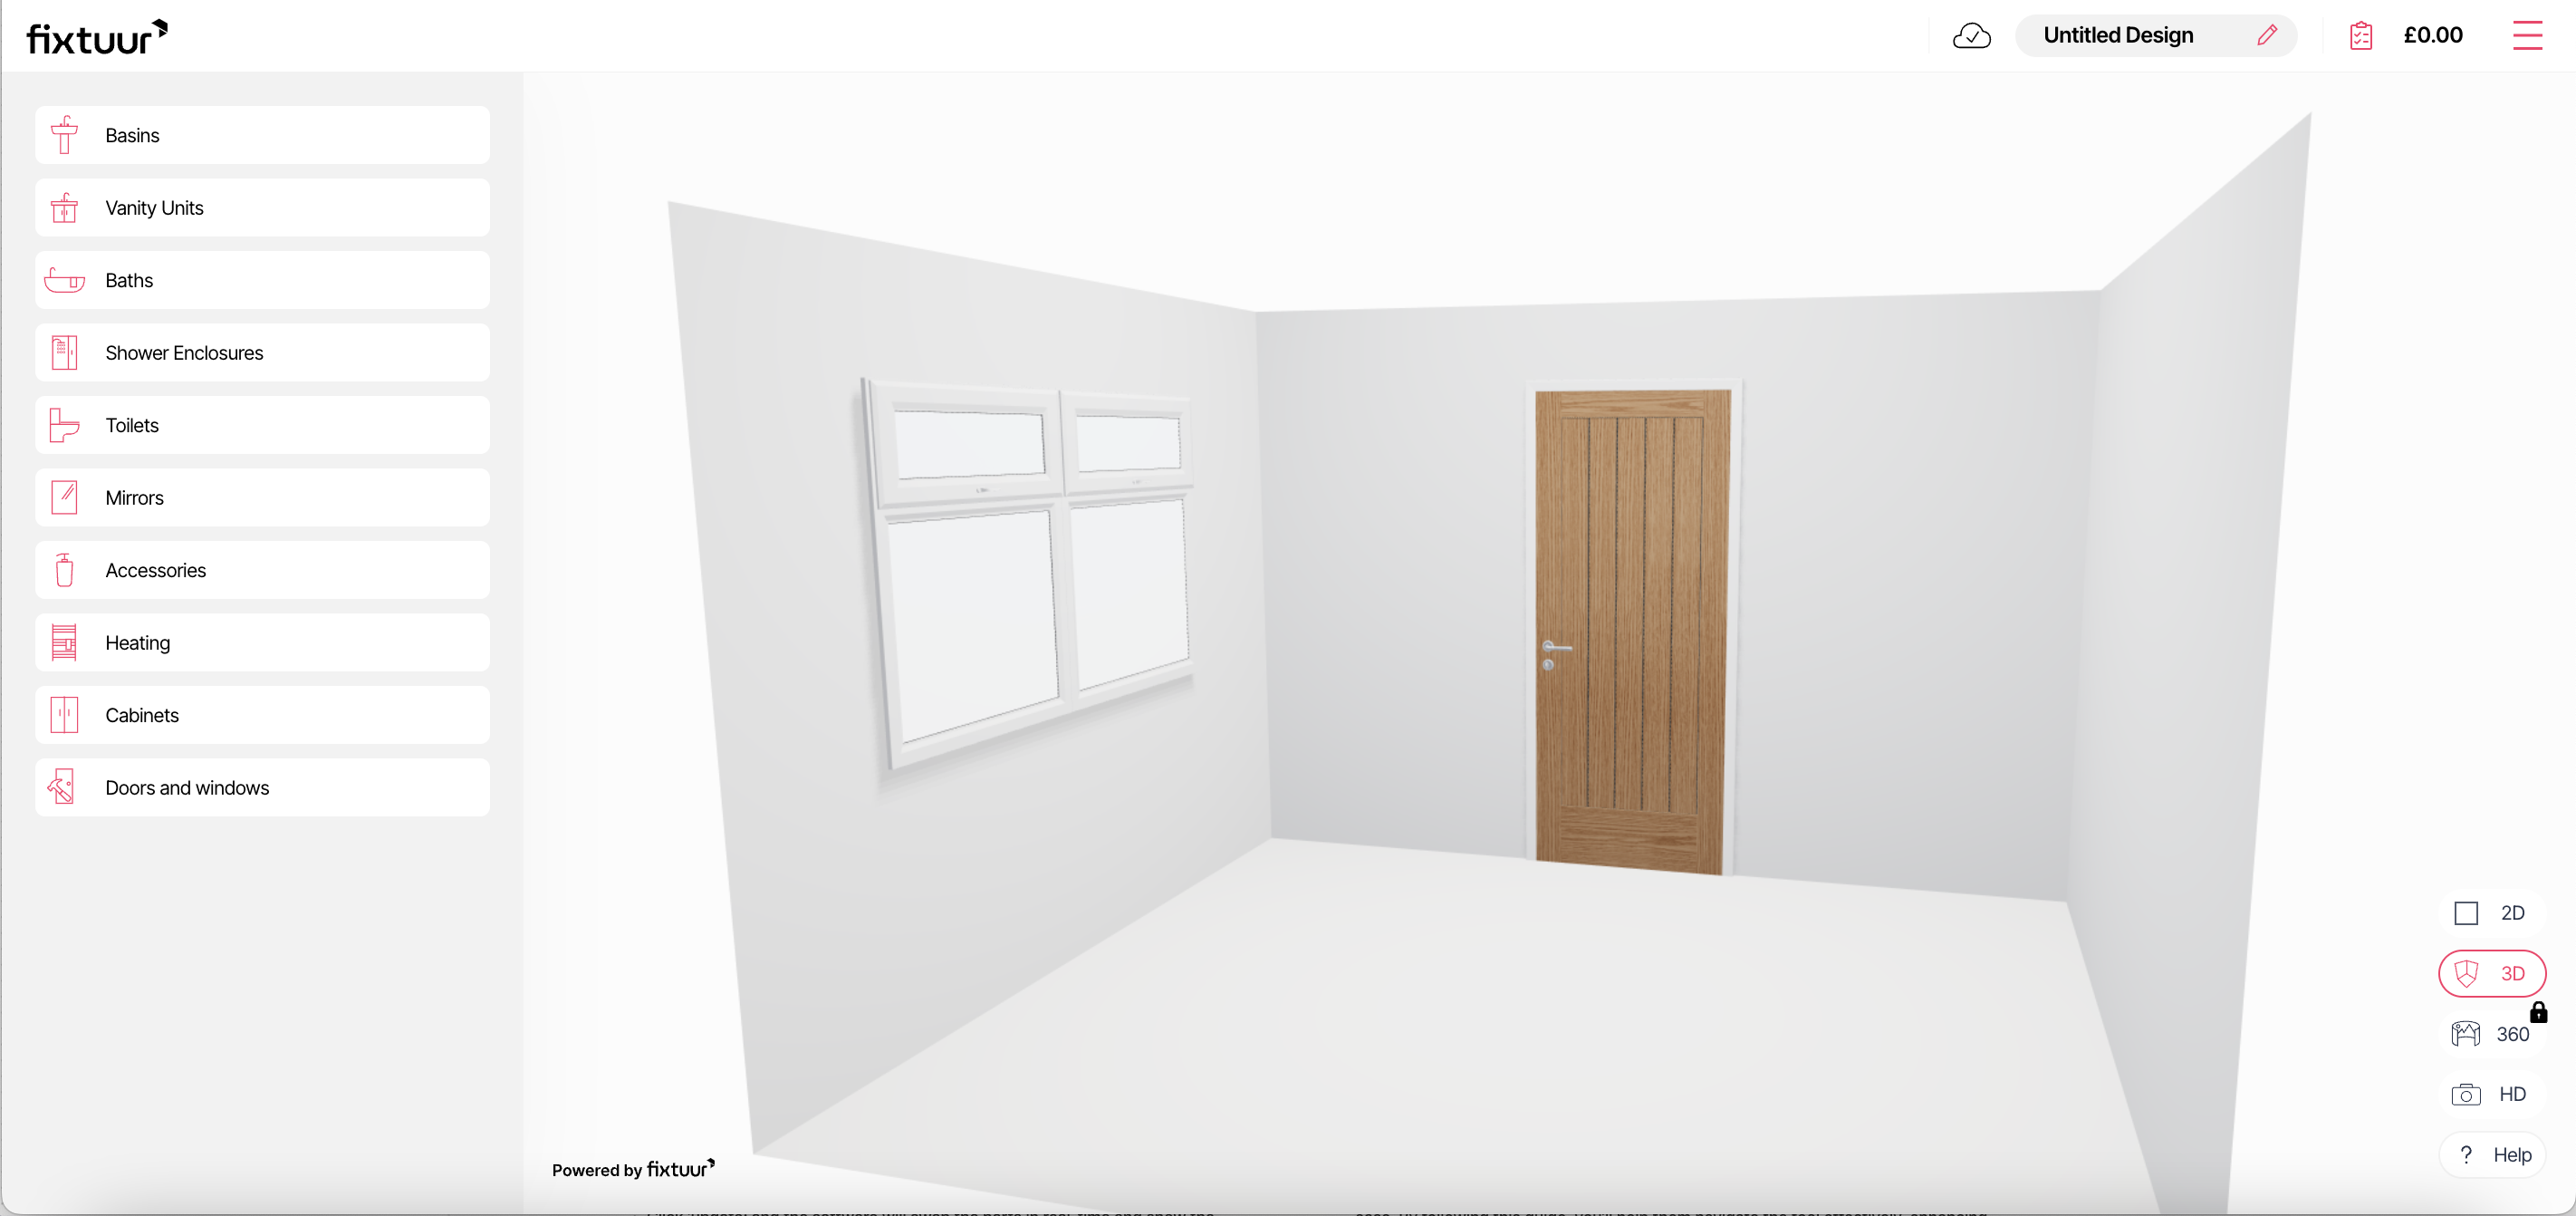
Add Windows and Doors
To make your floor plan even more
accurate, you can add windows and doors
that correspond to your actual room.
Choose from various sizes and styles,
allowing you to:
- Select Window Types: We offer single or double windows based on global averages, so you can choose styles that closely match your real-life preferences.
- Position Doors: Add entryways where they exist in your room. This feature is essential to ensuring you place products in areas that don’t affect where you will enter and exit the room.
Switching Views
In
the bottom left corner of the 3D scene,
you can switch between 3D and 2D views.
Both provide different ways to plan your
room—choose the mode that works best for
you.
Browse the Catalogue
Explore Available Products
Once your room dimensions are
set, it’s time to explore your product
catalogue and begin adding products to
the room.
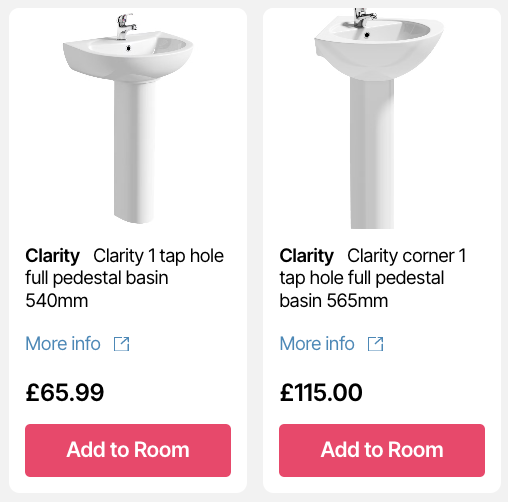
- Categories: Use the categories to find the type of product you want to add.
- Sub-Category Filters: When inside a category page, you can filter down to sub-categories to easily find a product closest to your needs.
- Product Details: Click ‘more info’ on any item to open its relevant PDP (Product Details Page) for detailed descriptions, including dimensions, materials, and pricing.
When you’ve found your chosen product, click ‘Add to Room’ and watch it appear in your space!
Configuring the Product
Customise Your Furniture
Now that you’ve added your first
product, you’ll see options on the left
relating to the various parts that can
be swapped and changed.
Note: Not all products will have configurable properties, so pay attention to what can be changed when adding any product to the room.
- Variant Options: Some products will let you dynamically change the colour and size of an item after adding it to the room. Simply select a different option to see the product update in real-time.
-
Change Parts:
Products that have extra parts (such
as taps) will have a configure box
showing the currently selected part.
To change it simply:
- Choose the part you want to change and click its relevant box.
- Explore the other options and find a product that matches your needs.
- Click ‘update’ and the software will swap the parts in real-time and show the update in the 3D scene. Your price will also be updated to reflect the change.
Note: All parts shown are compatible with the core product you have added to the room, so you can design knowing everything will work and fit together when they arrive.
Moving Furniture Around the
Room
After placing and configuring
your items, you can position them in
their ideal place inside the room. Let’s
understand how position works for
different types of products:
- Back to Wall: If a product is designed to sit against a wall, it can only be able to be placed against a wall. To move it, simply click and drag the product across each wall to its desired spot.
- Floor-Standing: Floor-standing products can be placed anywhere on the floor and dragged around or rotated to ensure they fit within the space.
The tool will notify you if items won’t fit. A green line around the product indicates its position is fine for installation, while a red line suggests it needs repositioning.
Add Wall and Floor Coverings
Choose Your Aesthetic
Wall and floor coverings can
dramatically influence the ambiance and
style of your room. Tiling or painting
your room couldn’t be easier.
- Select a wall to tile/paint: Hover over the wall you wish to tile on desktop (your cursor will turn into a paintbrush), or on mobile, tap the wall.
- Explore options: You can switch between paint and tiles using the tabs in the covering panel. To apply a covering, simply click the one that matches your style and watch it be applied in real-time.
Note: Tiling the floor works in the same manner, but only floor tiles will be shown.
Visualise Your Design
360 Walkthrough
Once you’re happy with your
layout and aesthetic choices, take a 360
tour by clicking the 360 button in the
bottom right.
Note: You need to add 3 products and make a tiling selection to unlock the 360 walkthrough feature.
- Entering 360 view: When ready, the 360 button will notify you. Click it again to start the immersive experience!
- Panning around the room: Drag the scene to explore the entire room as it will look when installed.
Review and Finalise
Snapshot and Share Your
Creation
Once you’ve finalised your
design, take a snapshot by clicking the
HD camera icon in the bottom right. The
image will be processed and downloaded
directly to your device.
View and Purchase
When satisfied, begin the
purchasing process by clicking the price
indicator in the top right for a
breakdown of your entire room.
Manage Your Designs
Open Previous Designs
All your designs are saved to the
cloud for easy access later. Access them
from the Room Planner home screen.
Rename and Delete Designs
To keep things organised, name
your designs or delete unwanted ones via
the menu in the relevant design card.
Conclusion
Congratulations! You’ve
successfully navigated the 3D Room
Planner Tool, creating a personalised
space that reflects your unique style
and needs. Experiment with different
layouts, colours, and products to find
the perfect combination.
If you have any questions or need assistance, our support team is here to help. Happy designing!
Learn more about 3D Room Planner